1. Prepare Anki Desktop
Install AnkiConnect using add-on code 2055492159, restart Anki, and leave it open on the same Mac as Flante.
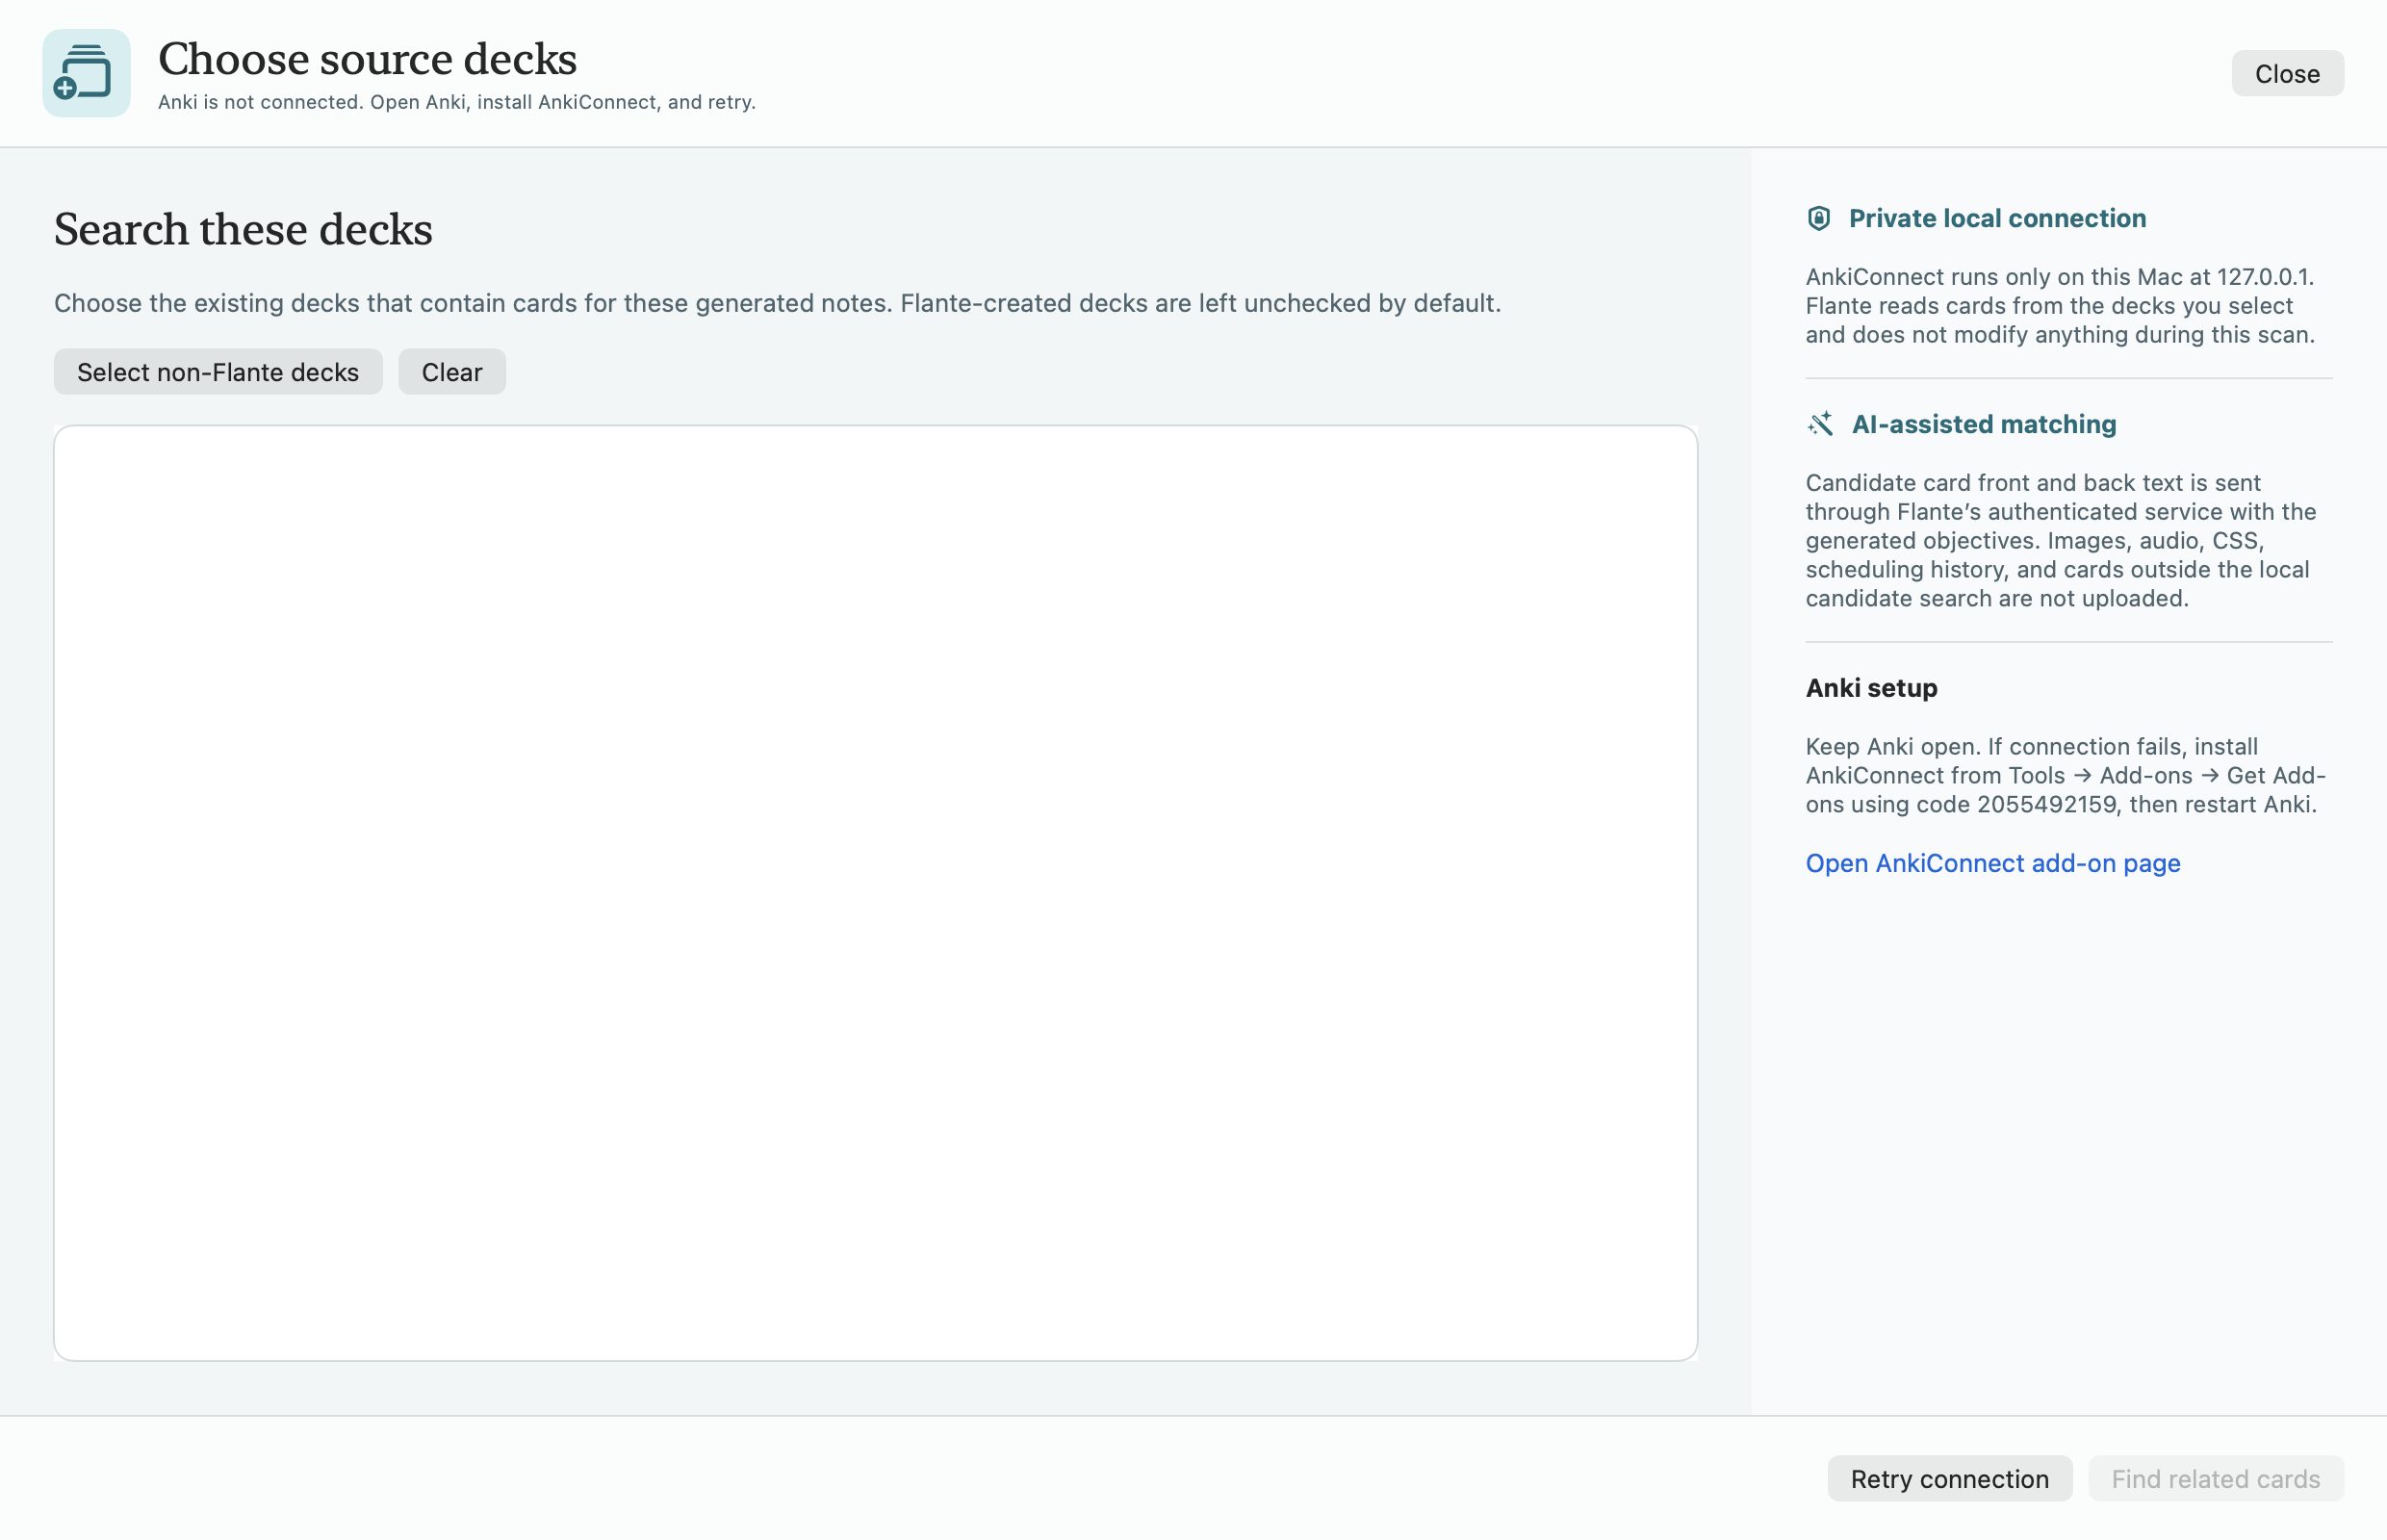
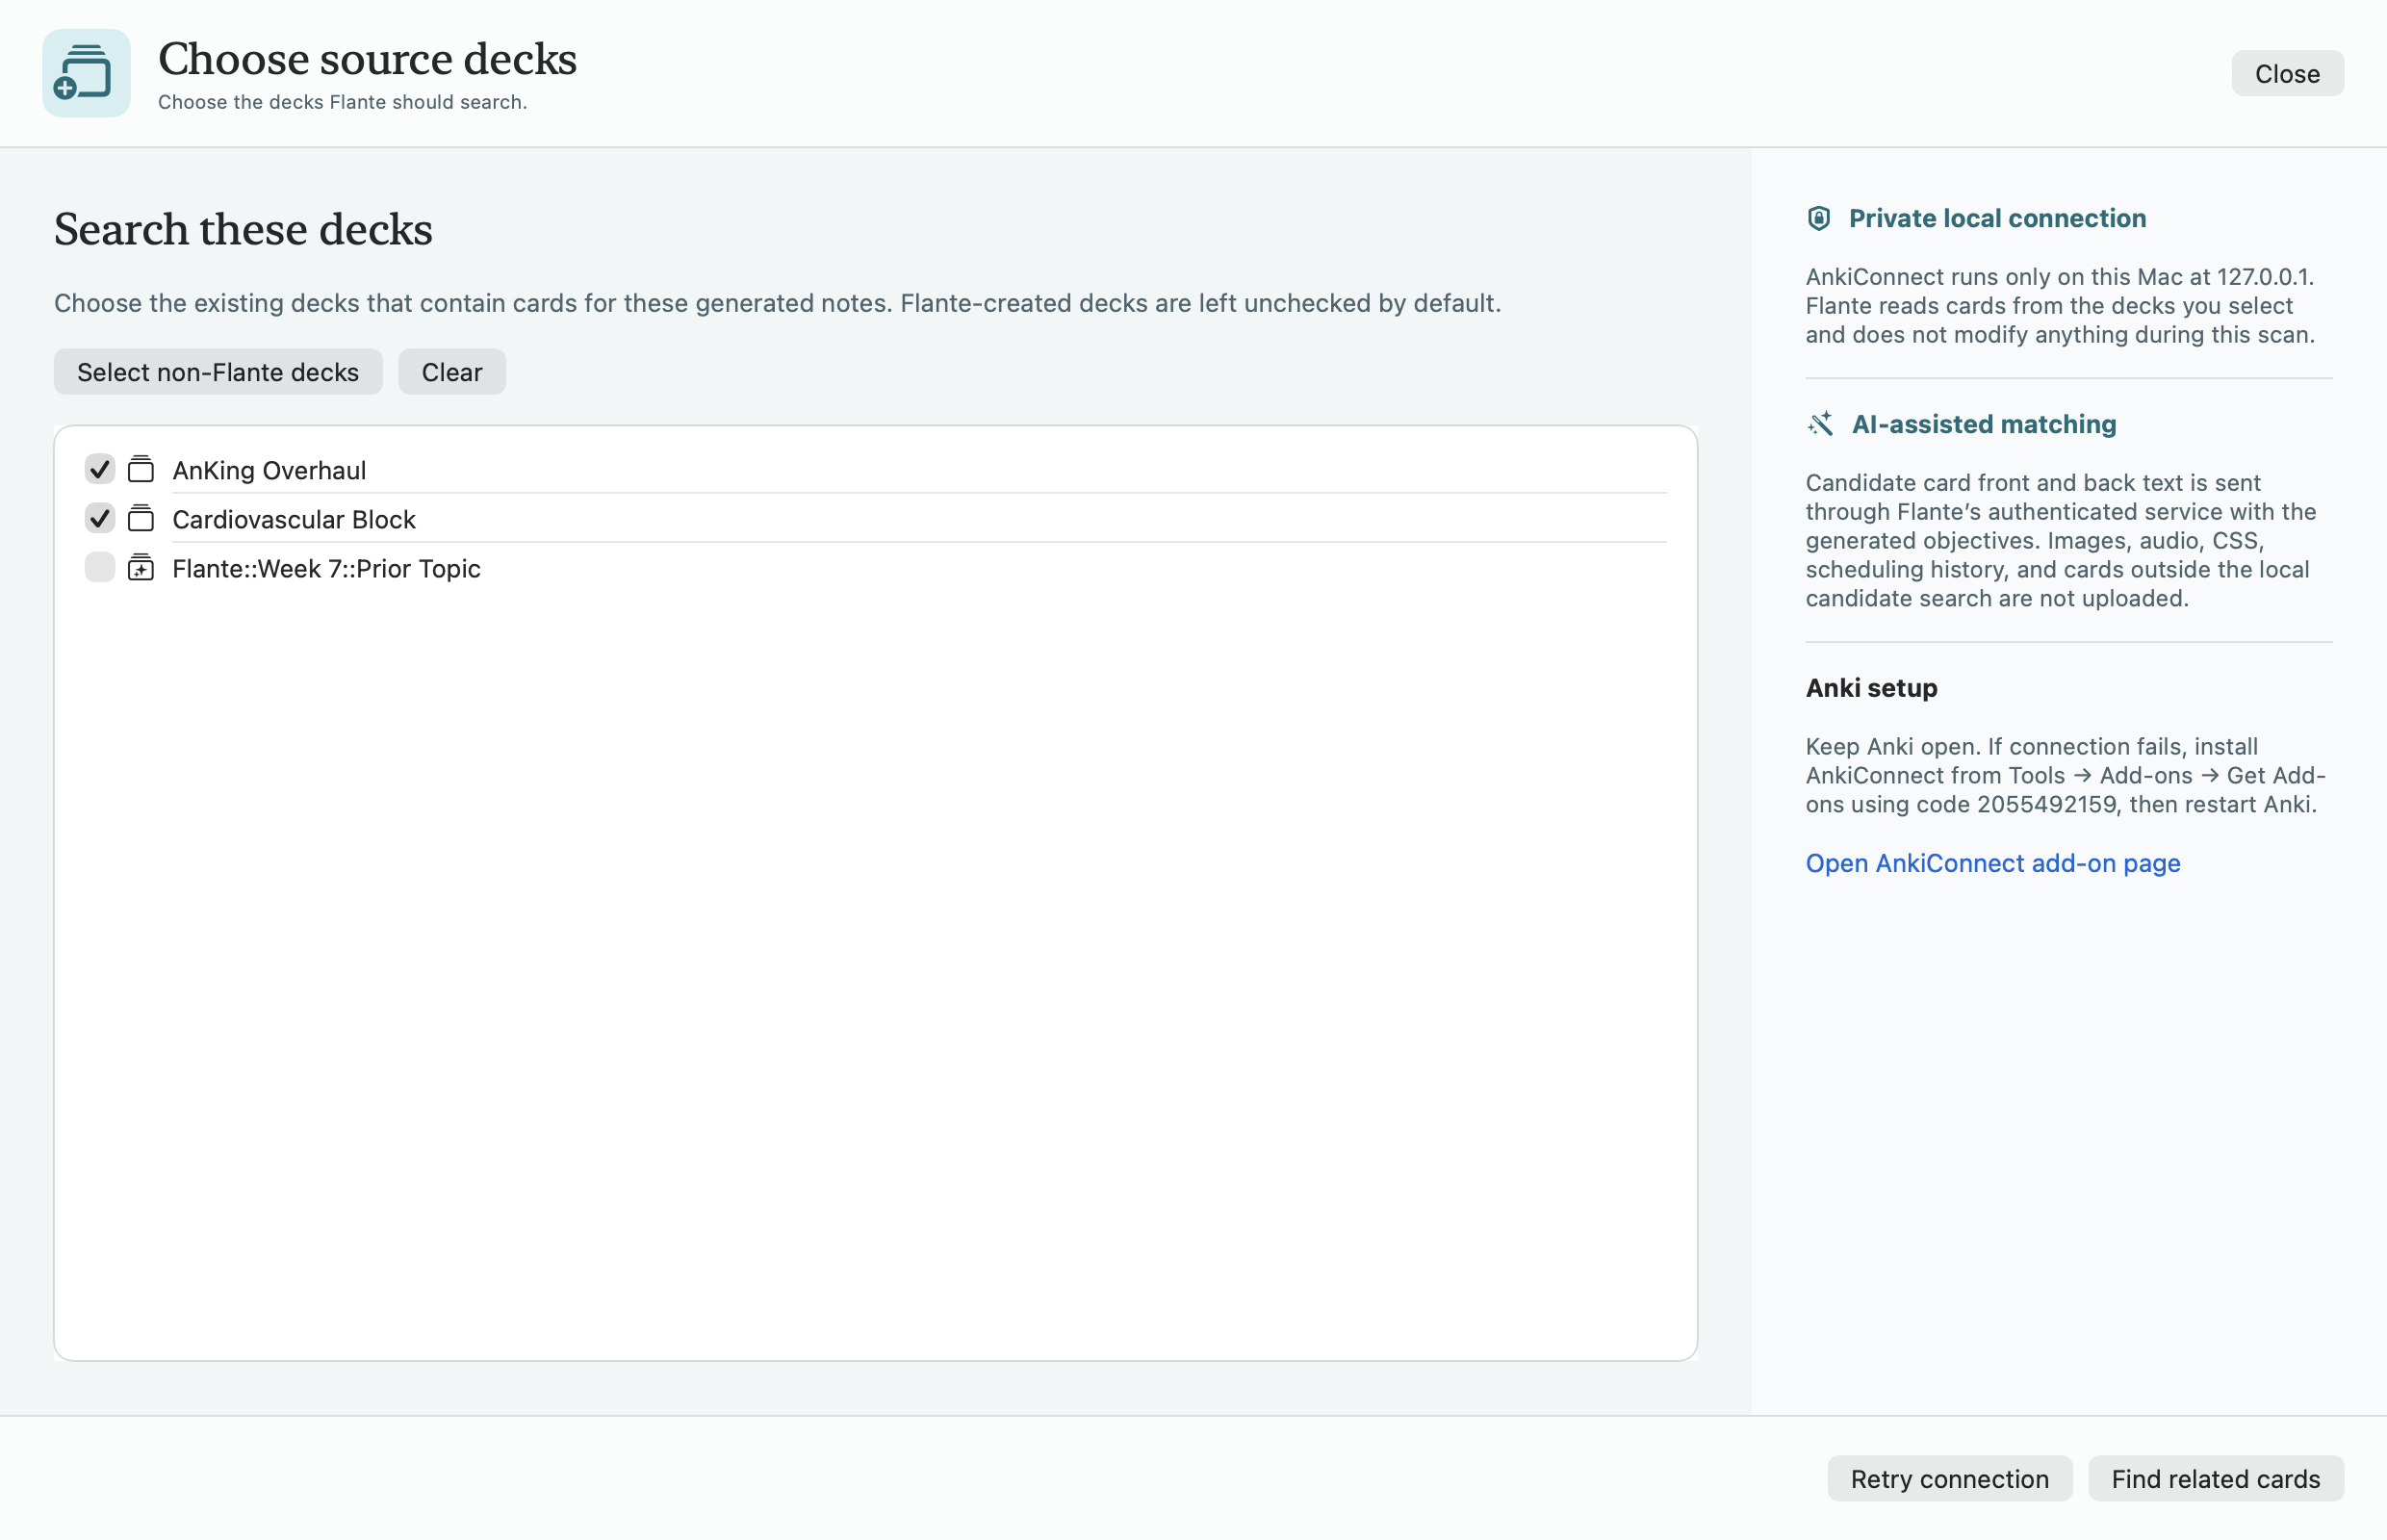
2. Choose source decks
Select only the existing decks Flante should search. The scan stays on your Mac, and no cards move during this step.
Good to know: Flante never silently substitutes external literature for your course material. The evidence origin stays visible in the preview and export.
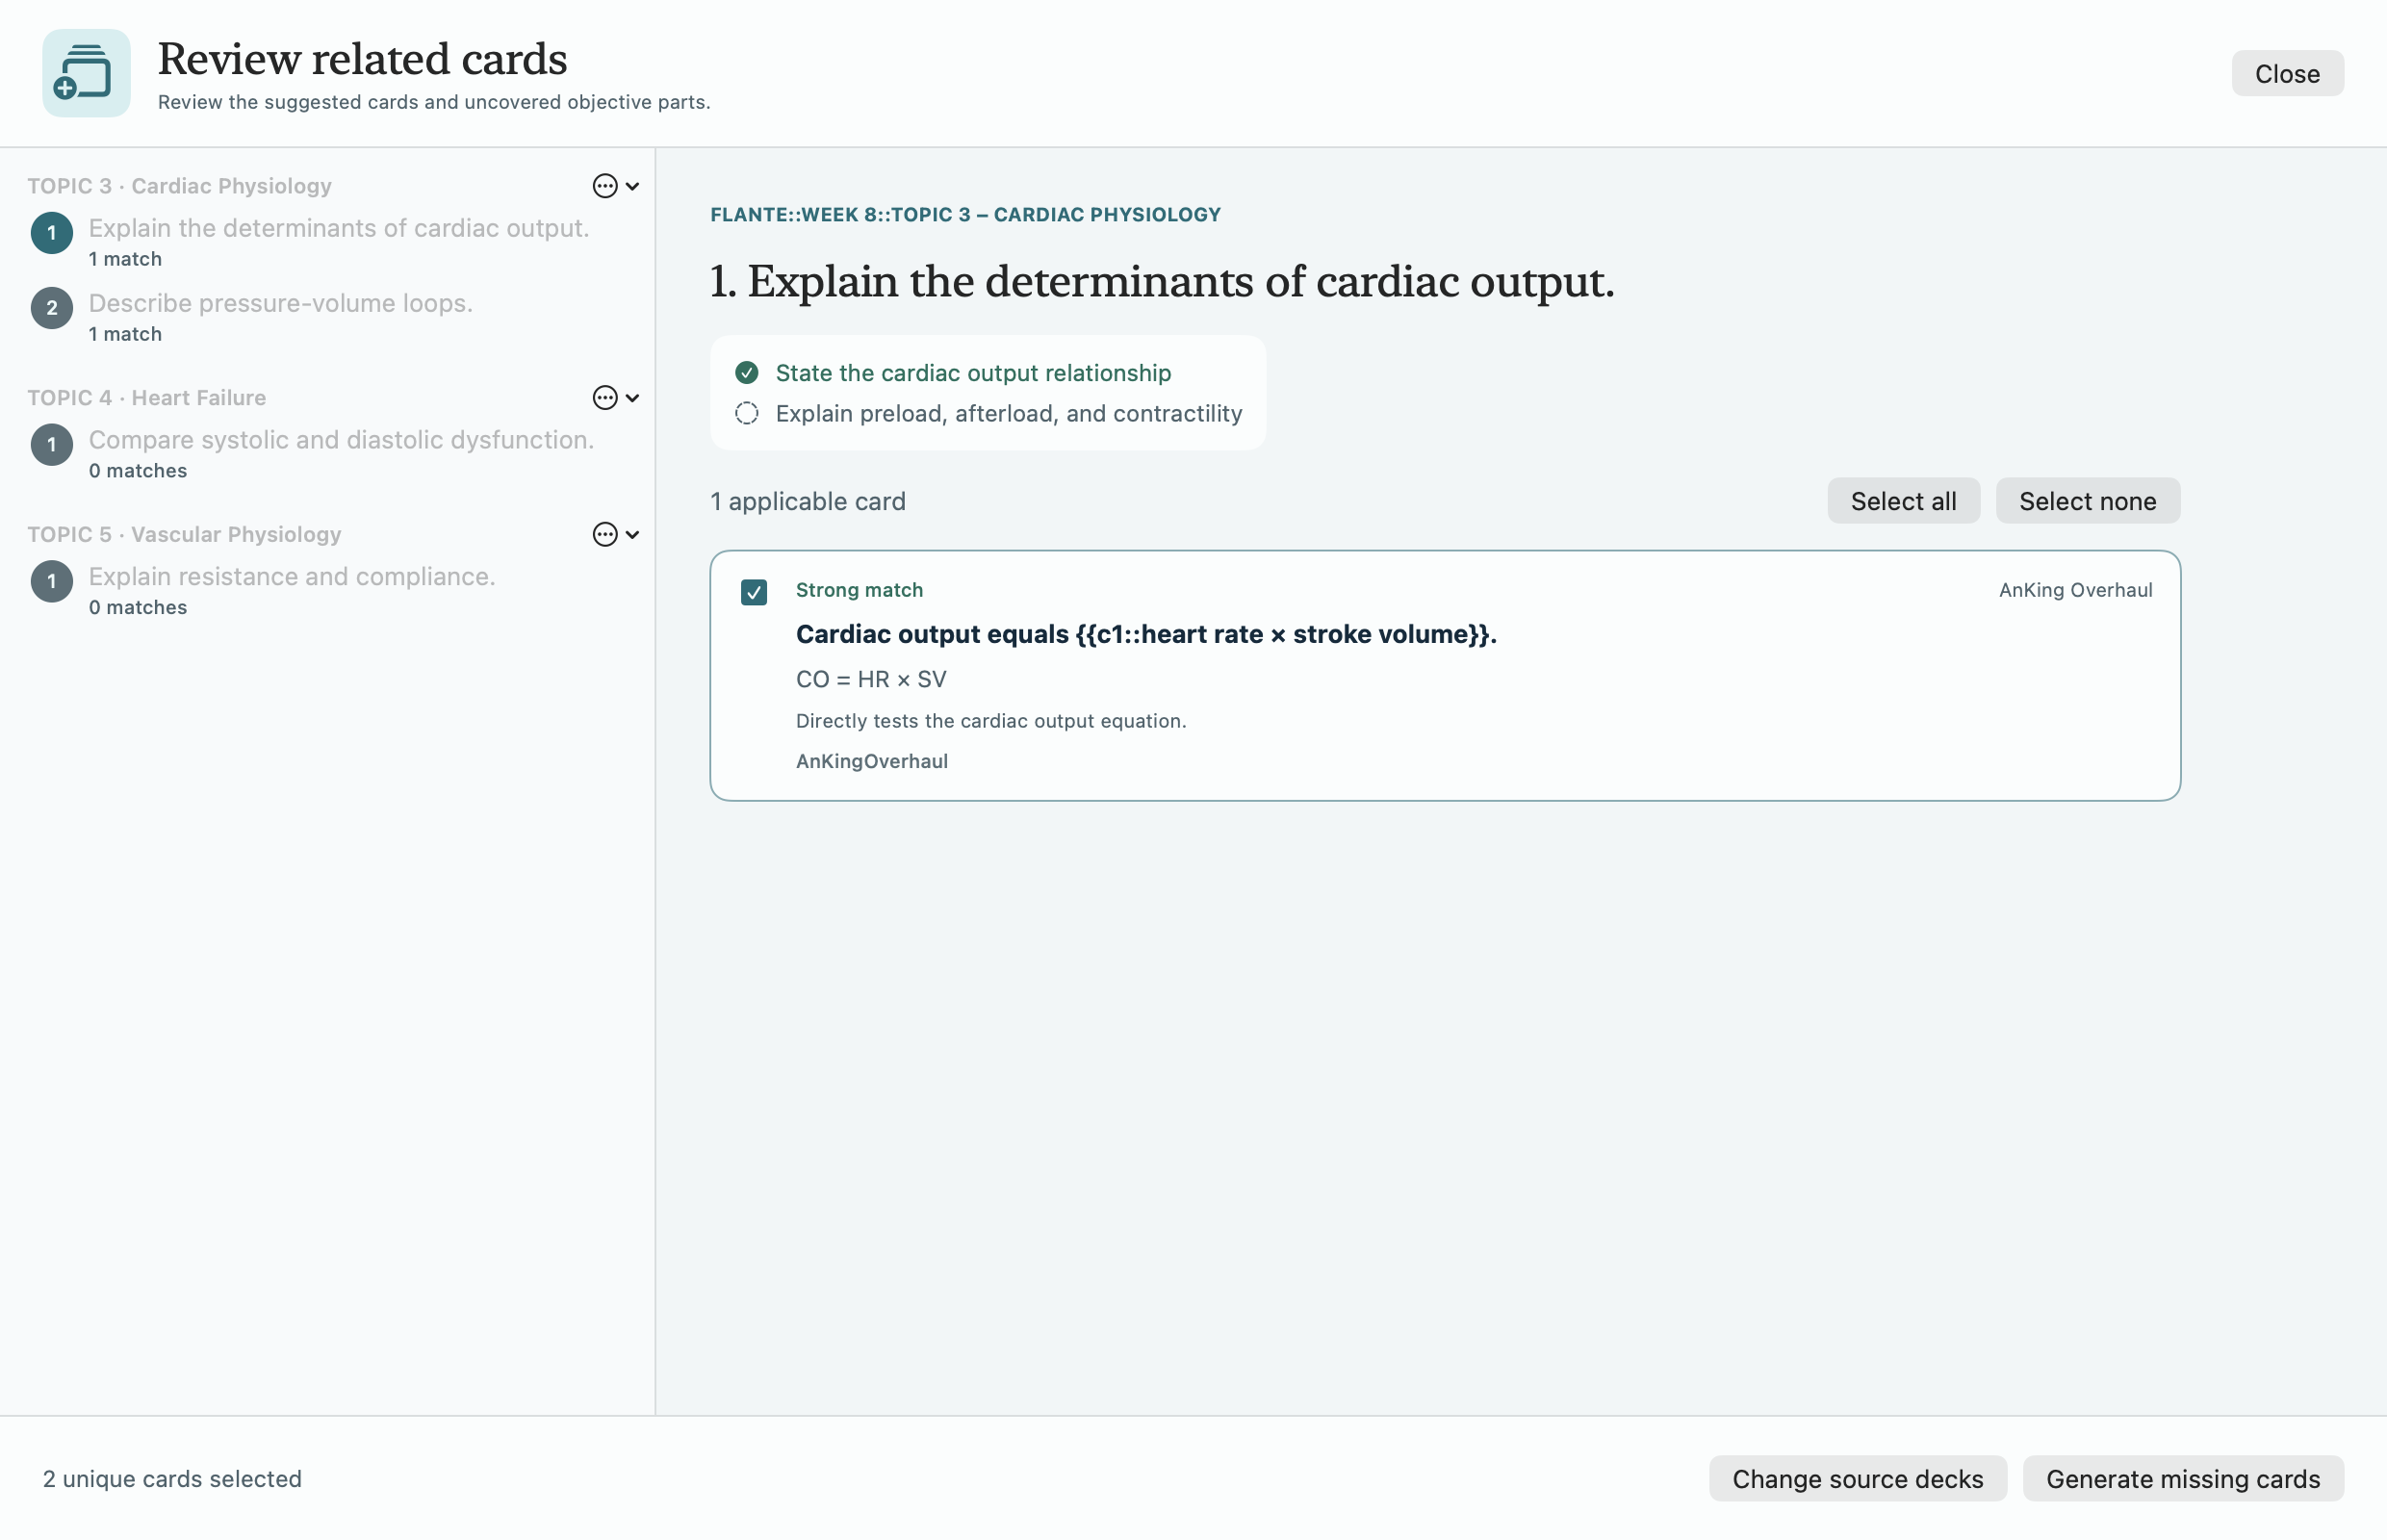
3. Review matches and coverage
Strong and possible matches appear under each objective. Flante shows which specific objective parts those cards cover and which parts still need a card.
4. Create the missing cards
Generate editable cloze, image-identification, or image-occlusion drafts for every uncovered part. Review the fields, sources, images, and masks before approving anything.
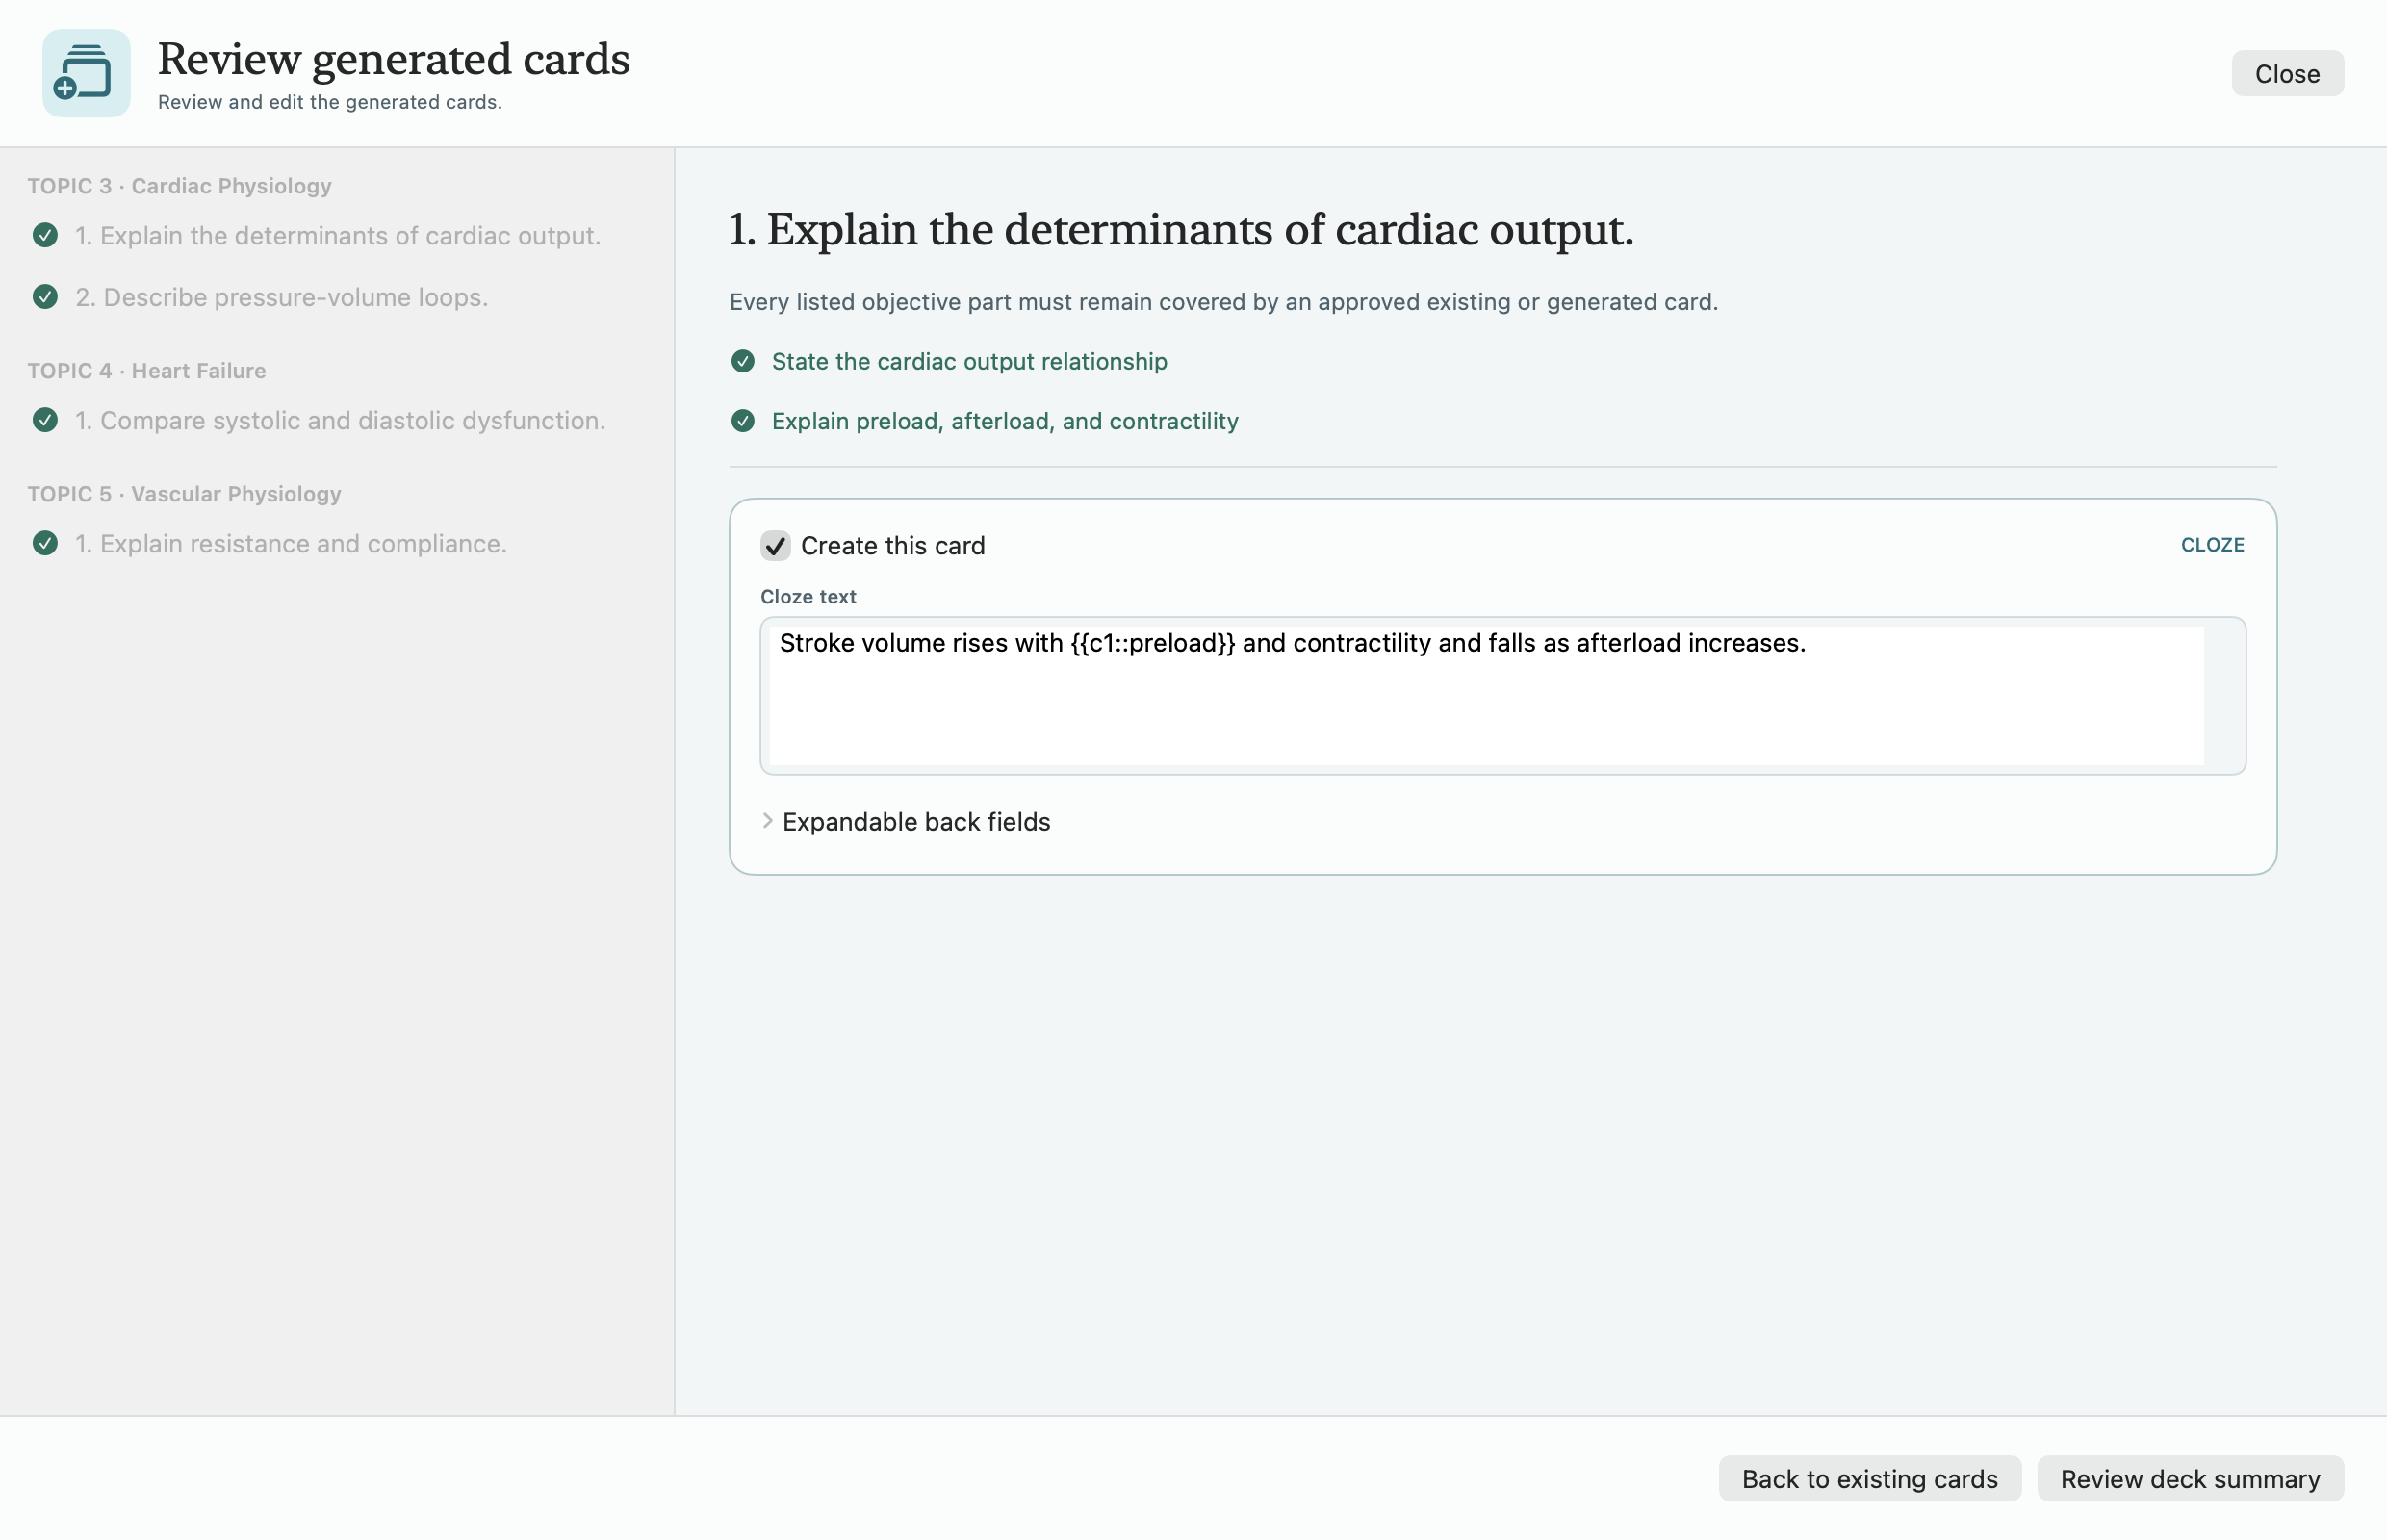
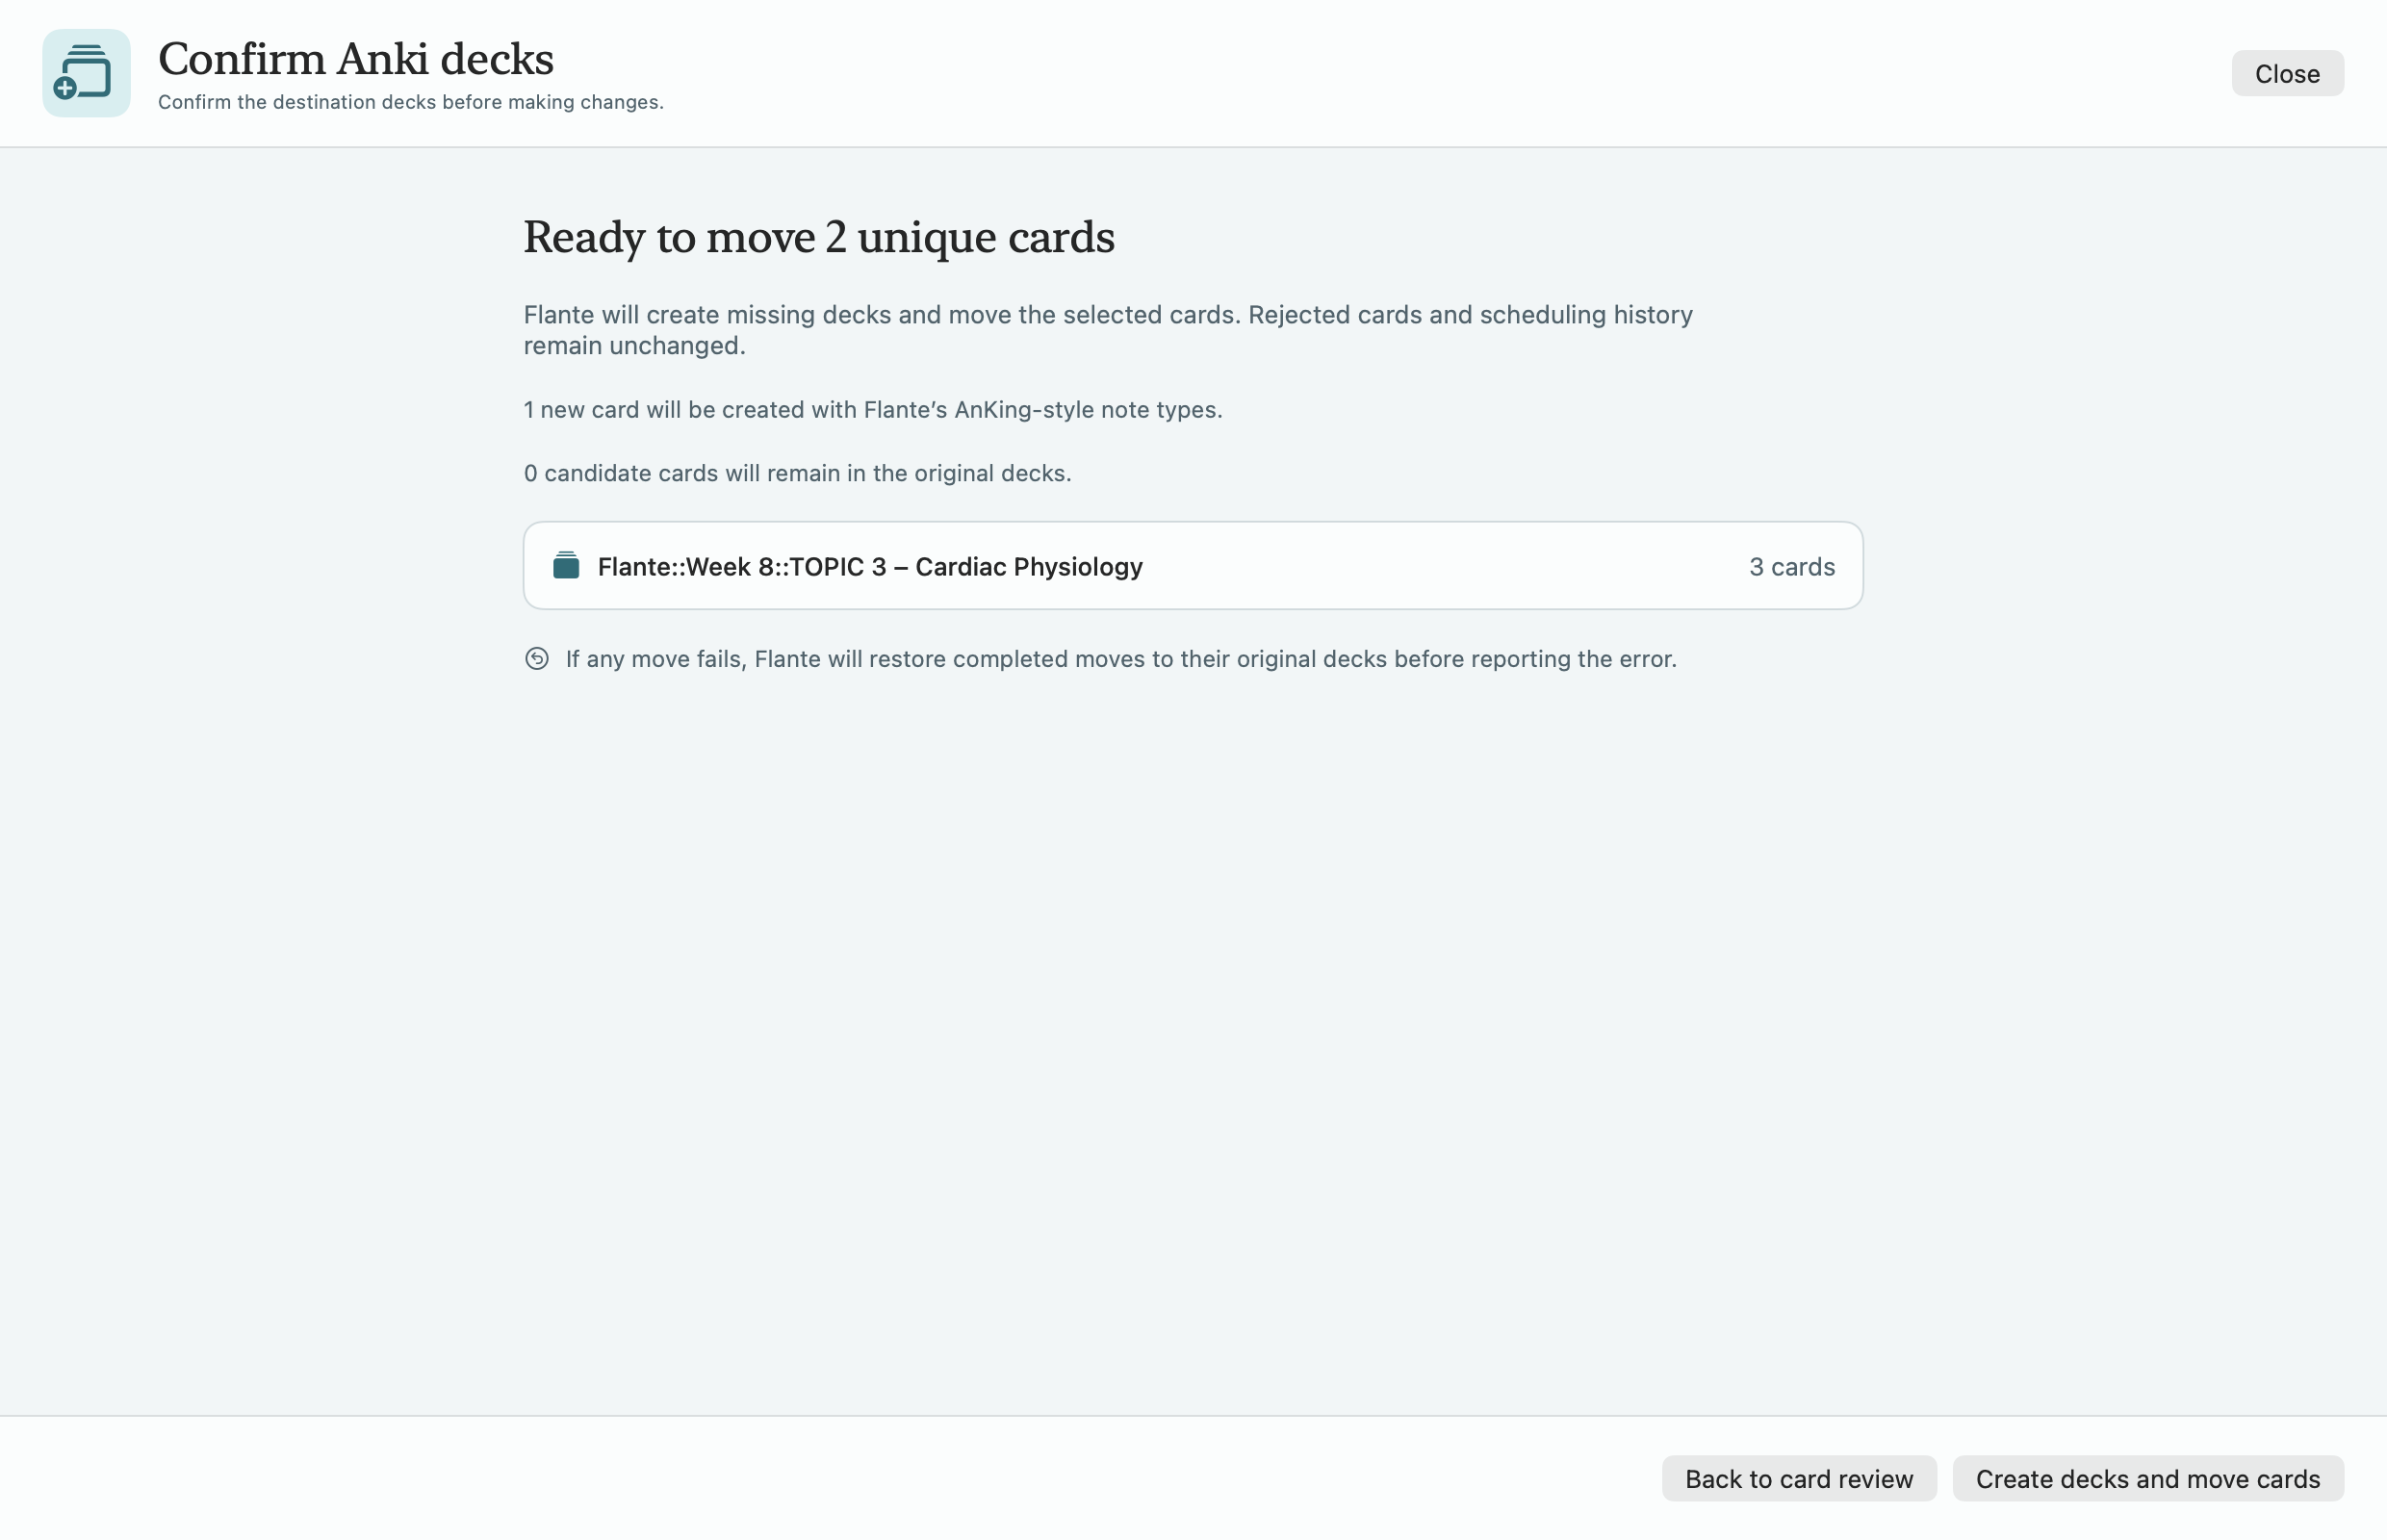
5. Confirm destination decks
Review the final summary before making changes. Approved existing cards move into organized Flante week and topic decks, new cards are created, and existing scheduling history stays intact.